Although the wireless network has been pervasive in our daily life, it often suffers from unstable signals, stuttering, disconnection and security issues. Therefore, for the home network, it is more suitable to choose a wired network, and the network is smoother to avoid being attacked by hackers. So how should the home network be wired?
Home Network Planning
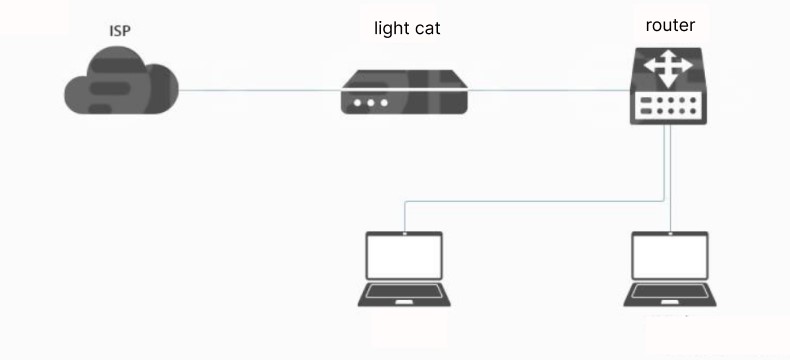
Usually, optical transceivers, routers, and network cables are generally used for home network wiring. The main function of the optical modem is to convert the incoming optical signal into an electrical signal; the router automatically selects and sets the route according to the channel situation after receiving the electrical signal, and sends the signal with the best path and sequence; The transmission is realized through the network cable. As shown in the figure below, the Internet service provider (ISP, such as China Telecom, China Mobile, etc.) will provide each home user with a dedicated optical fiber line. At this time, we need to use an optical modem to convert the optical signal into an electrical signal and send it to the router, and then the router distributes it. For laptops, desktop computers, etc.
Choice of Home Network Cable
As can be seen from the above, the connection of home network devices depends on network cables. Nowadays, there are many types of network cables on the market, such as Cat5e, Cat6 patch cable, etc., which network cable is more suitable for home use? At present, the bandwidth of the home network is basically more than 100M, and Cat5, Caft5e, Cat6, Cat6e patch cable can all support bandwidth transmission of more than 100M. Among them, the Cat6 patch cable stands out due to its advantages of high bandwidth, cost-effectiveness, and strong scalability, and more and more home users choose it.
After confirming the type of network cable, it is necessary to consider which type of shielded network cable is more suitable. Currently, there are UTP and STP network cables that are common on the market. Among them, UTP stands for unshielded network cable, without shielding layer, and has weak anti-interference performance; STP stands for independent shielded network cable, which has strong anti-interference ability, but relatively speaking, the price is a little higher. For home users, there is no problem in choosing a UTP network cable.
In addition, we also need to consider whether to choose a multi-strand network cable or a single-strand network cable. As the name implies, a single-strand network cable is composed of a single conductor, while a multi-strand network cable is composed of multiple thin conductors. Relatively speaking, the manufacturing process of a multi-strand network cable is more complicated, so the cost is also high. Usually, a single-strand network cable is sufficient for a home network.
Household Network Wiring Construction
Through the above introduction, I believe that you should have a full understanding of home network wiring. Let’s take a look at how network wiring is constructed!
Preparations: In order to ensure smooth and efficient completion of the construction, it is necessary to prepare cutters, network modules, network cable installation kits (including wire strippers and network cable pliers), network panels, network testers and other equipment and tools in advance.
The first step: network cable laying
Step 1, measure the length of the network cable from the power distribution room to each room according to the plan; then, use a cutting knife to cut (remember to reserve an extra length for subsequent installation); finally, according to the network wiring plan, follow the main line Lay the network cables in the order of trunk line, branch line, remember that the pre-embedded network cable must pass through the pipe (such as PVC casing), do not mix with the wire when threading the pipe, and only put 1~2 network cables in one casing.
Step 2: network cable wiring
First, find the network cables laid in each room according to the network plan (you can see the network cable holes and network cable ends on the wall); then, use the wire stripper to strip the outer skin of the network cables reserved on the wall in advance, and then remove the network cables Separate the twisted-pair cores inside to expose the cross frame, and use network cable pliers to cut it off; finally, pass the network cable that has just cut the cross frame through the network module, and install the cores of the network cable on the In the corresponding groove, use network cable pliers to cut off the excess wire core, and cover the shell of the network module.
Step 3: Install the Network Panel
Install the network module that has just been wired into the port of the network panel, and then install the network panel on the wall. (Note: Repeat steps 2 and 3 for wiring in each room.)
Step 4: Test Link
After the network cables of all lines are installed, we can use the network cable tester to test whether the network cables can communicate normally. If all the lights on the network cable tester light up one by one, it means normal communication. If all the lights are not on, it means that there is a problem with the connectivity and it needs to be remade.

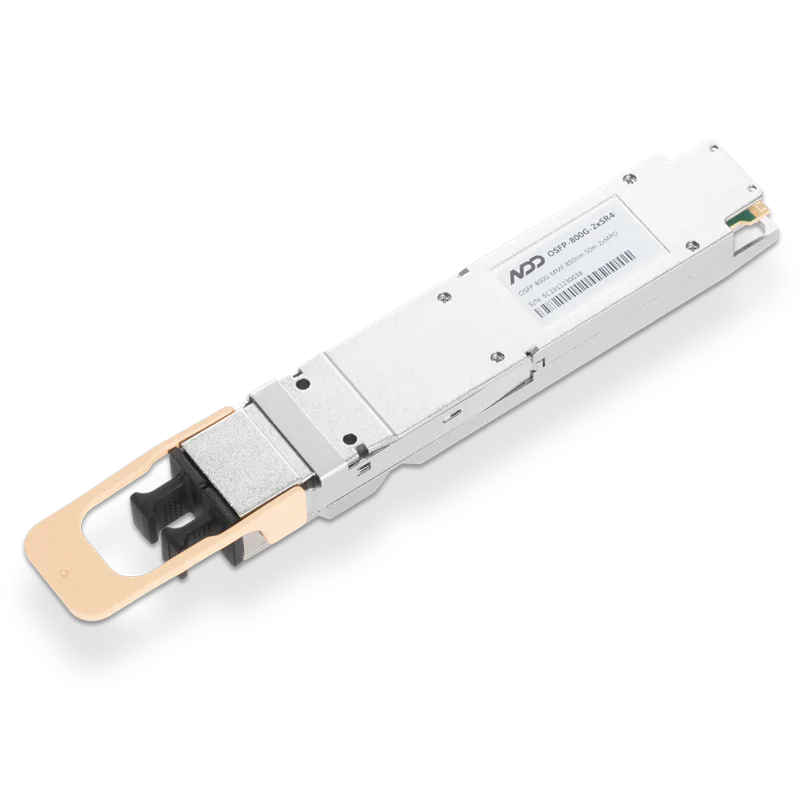 800GBASE-2xSR4 OSFP PAM4 850nm 50m MMF Module


